Maps
Each match draws its battlefield from a rotation of ten painted maps. The path, the tower spots, the tuning, and the boss at the end all belong to the map, so the rotation itself is a difficulty curve your team learns to read.
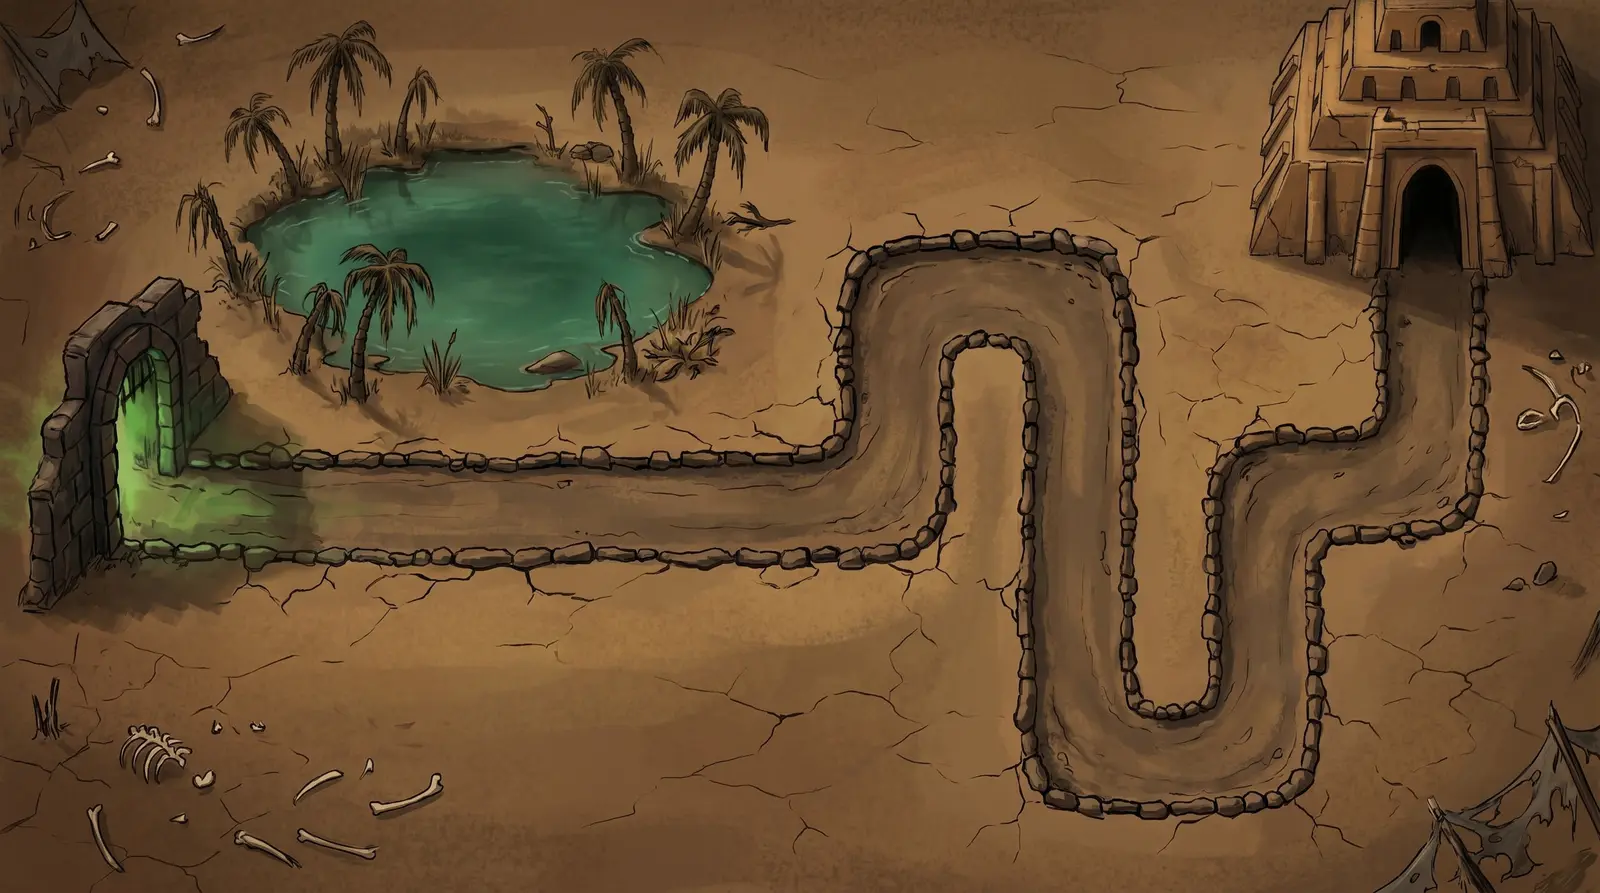
The Withered OasisStandard
A dead watering hole under a desert sun.
A drained oasis of cracked mud and standing pools sits in the heart of the dunes, its palms long since bleached grey. The path threads between the dead water and the sand, giving your towers clean sightlines across the flats. This is the ground the Oasis Revenant walks, so expect her cloaking mirages to shimmer in and out along the open lane.
Tuning: the baseline tuning. Boss: Oasis Revenant
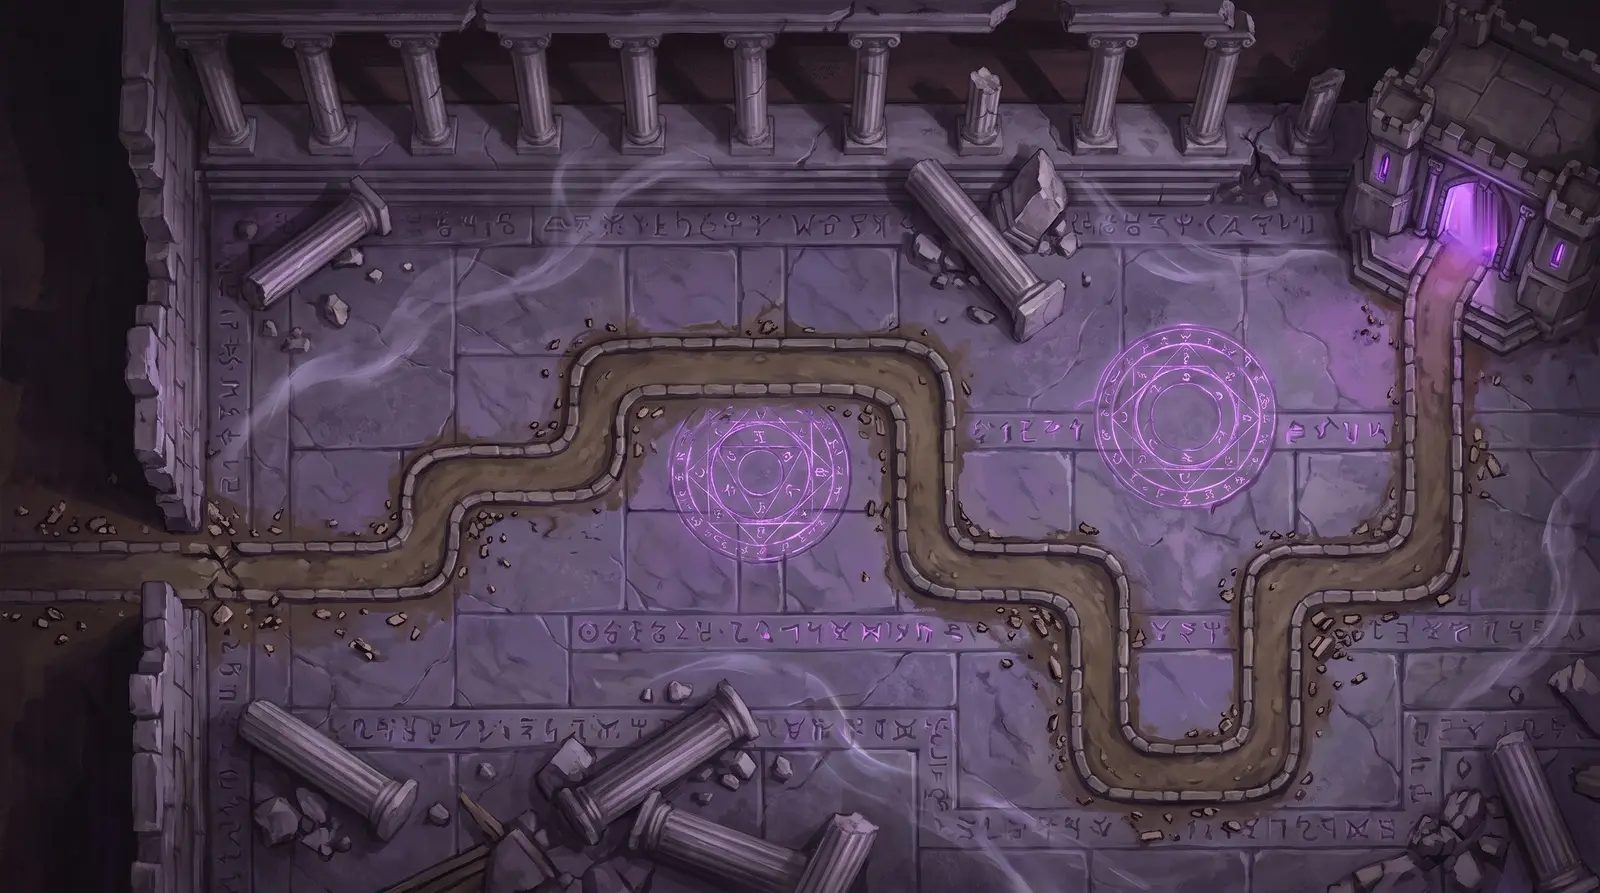
The Sundered CausewayGentler
A broken arcane road between violet rune columns.
A causeway of violet-grey stone runs between tall rune-carved columns, the easiest ground in the rotation for a team to hold. The lane is broad and readable, letting you spread towers wide with little to obstruct their fire. It is the domain of the Sundered Sentinel, whose twin halves patrol the road side by side.
Tuning: waves are 12% softer here. Boss: Sundered Sentinel
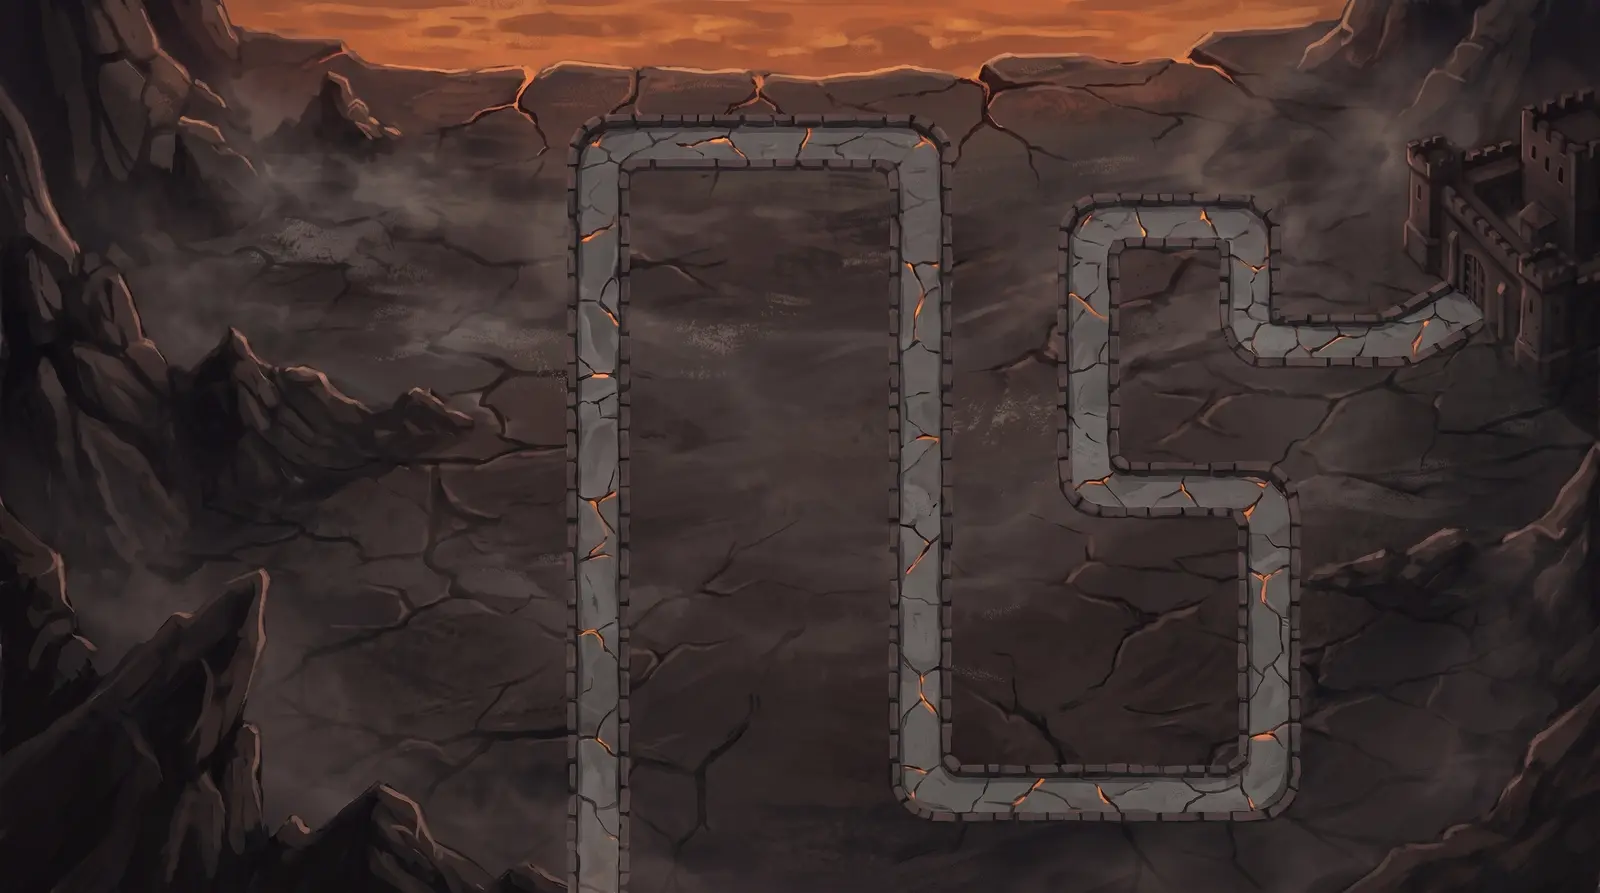
The Cinder RingHarder
A smoldering track across a cinder field.
A ring of scorched ground winds through a field of embers and drifting ash, glowing lava seams cutting between the stones. The path loops through the heat, keeping enemies in your kill zones a little longer as they curve past. This is where the Cinderbrood Matriarch nests, seeding her armored eggs along the smoking track.
Tuning: waves hit 12% harder here. Boss: Cinderbrood Matriarch
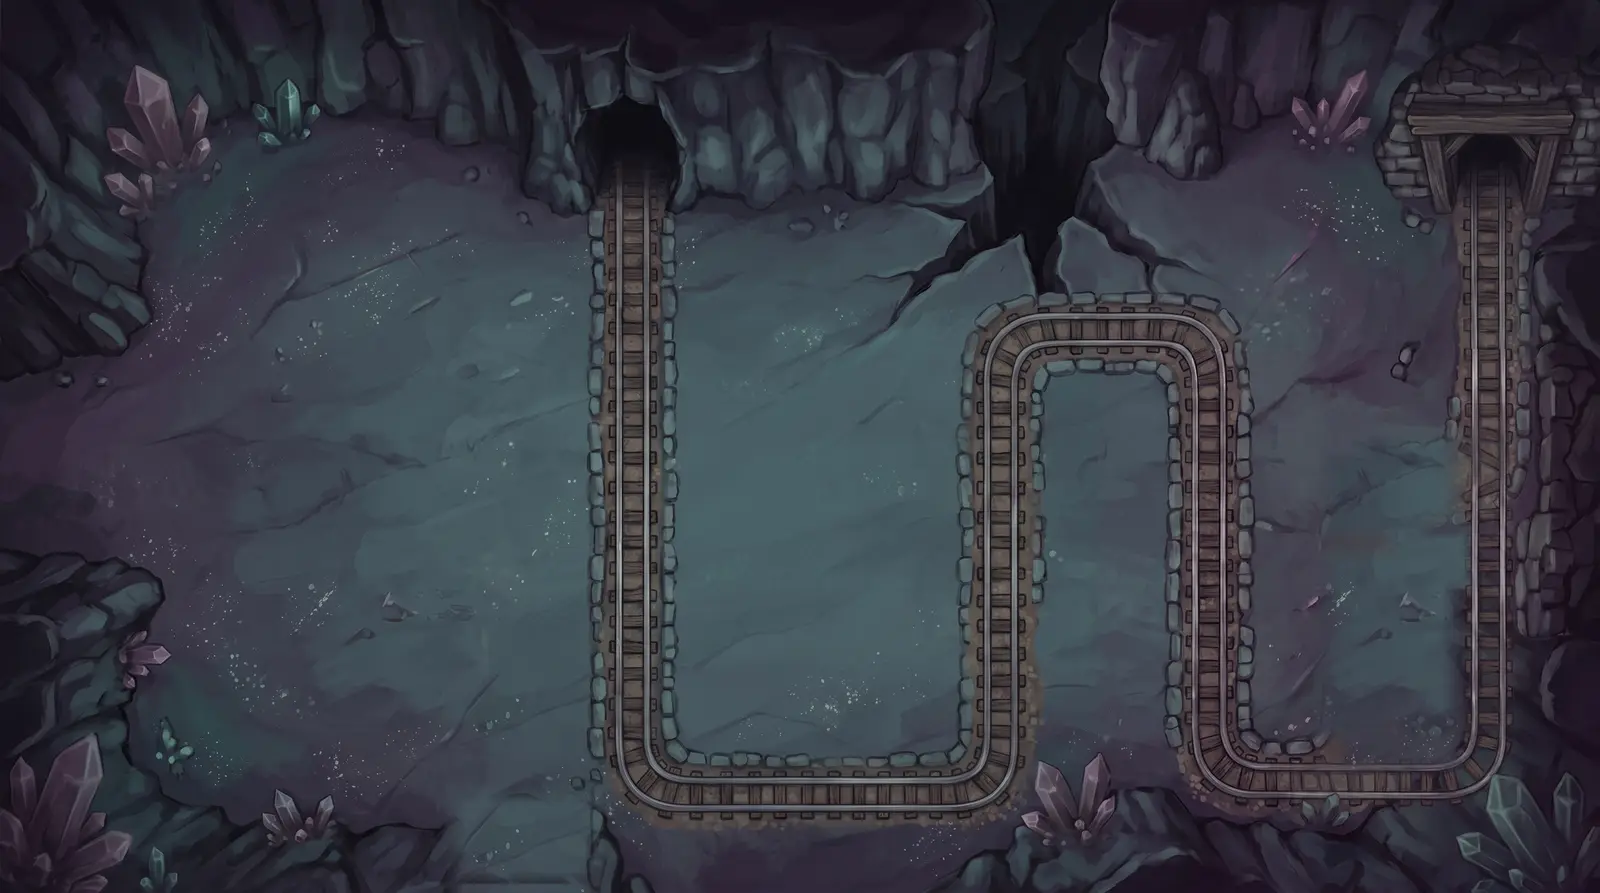
The Hollow VeinStandard
A crystal mine deep in amethyst and teal.
A cavern vein glitters with amethyst and teal crystal, the walkable path carved through glowing mineral seams underground. Foreground crystal formations frame the lane and give the fight a claustrophobic, enclosed feel. The Geode Broodmother holds this hollow, trickling out her geodelings the whole time she lives.
Tuning: the baseline tuning. Boss: Geode Broodmother
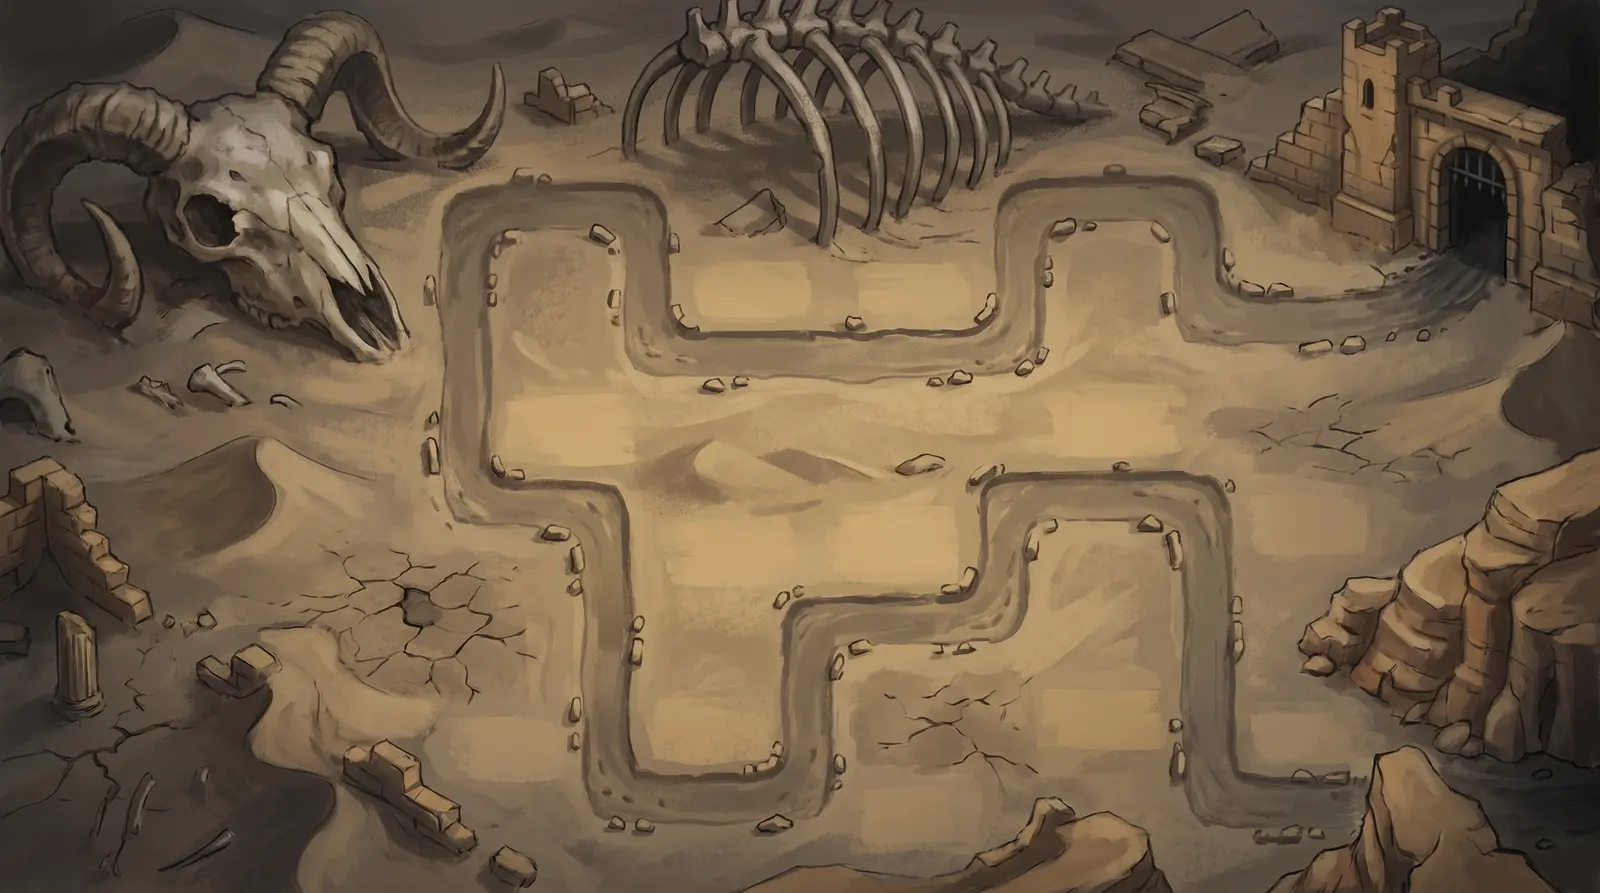
The Bone DunesBrutal
The hardest run, across bone-strewn desert.
Sun-bleached bones jut from rolling dunes on the toughest ground in the rotation, where the waves hit harder than anywhere else. The path snakes through the sand with long open stretches that test whether your towers can output enough damage. It is the hunting ground of the Bone Serpent, whose armored skull surfaces through the dunes towing its train of bones.
Tuning: waves hit 40% harder here. Boss: Bone Serpent
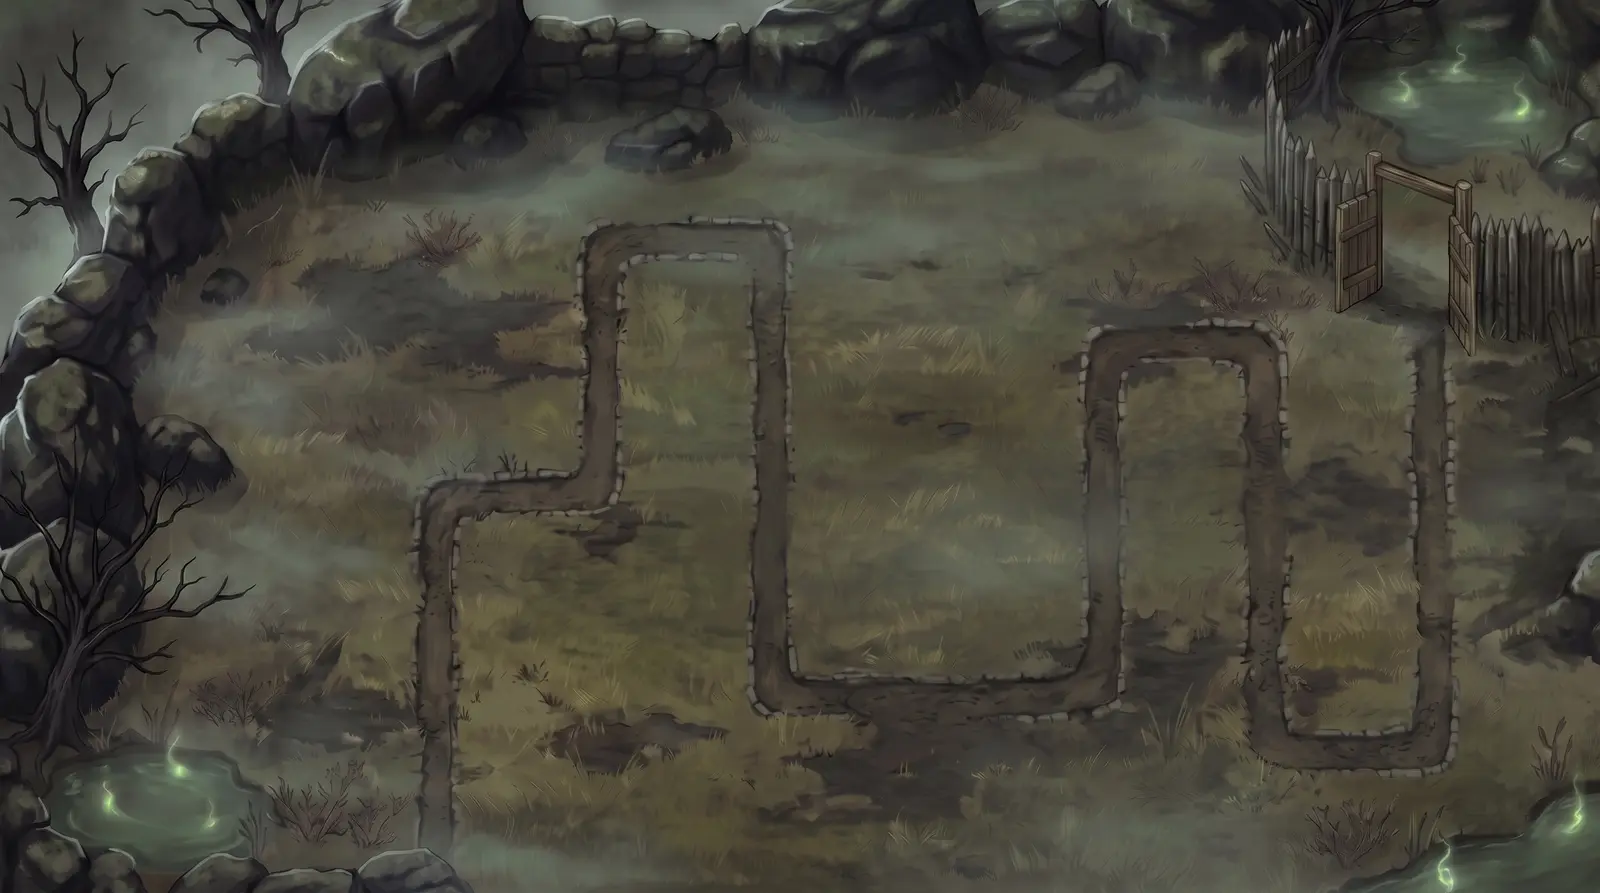
The Blighted MoorHarder
A wet, sunken bog under a grey sky.
A blighted moor of standing water and sunken grass stretches under a heavy sky, the causeway picking a narrow line through the wet lowlands. The boggy ground and fixed path make position and timing matter more than usual here. This is the Moor Hag's home, where she raises the drowned from mounds already waiting along your lane.
Tuning: waves hit 23% harder here. Boss: Moor Hag
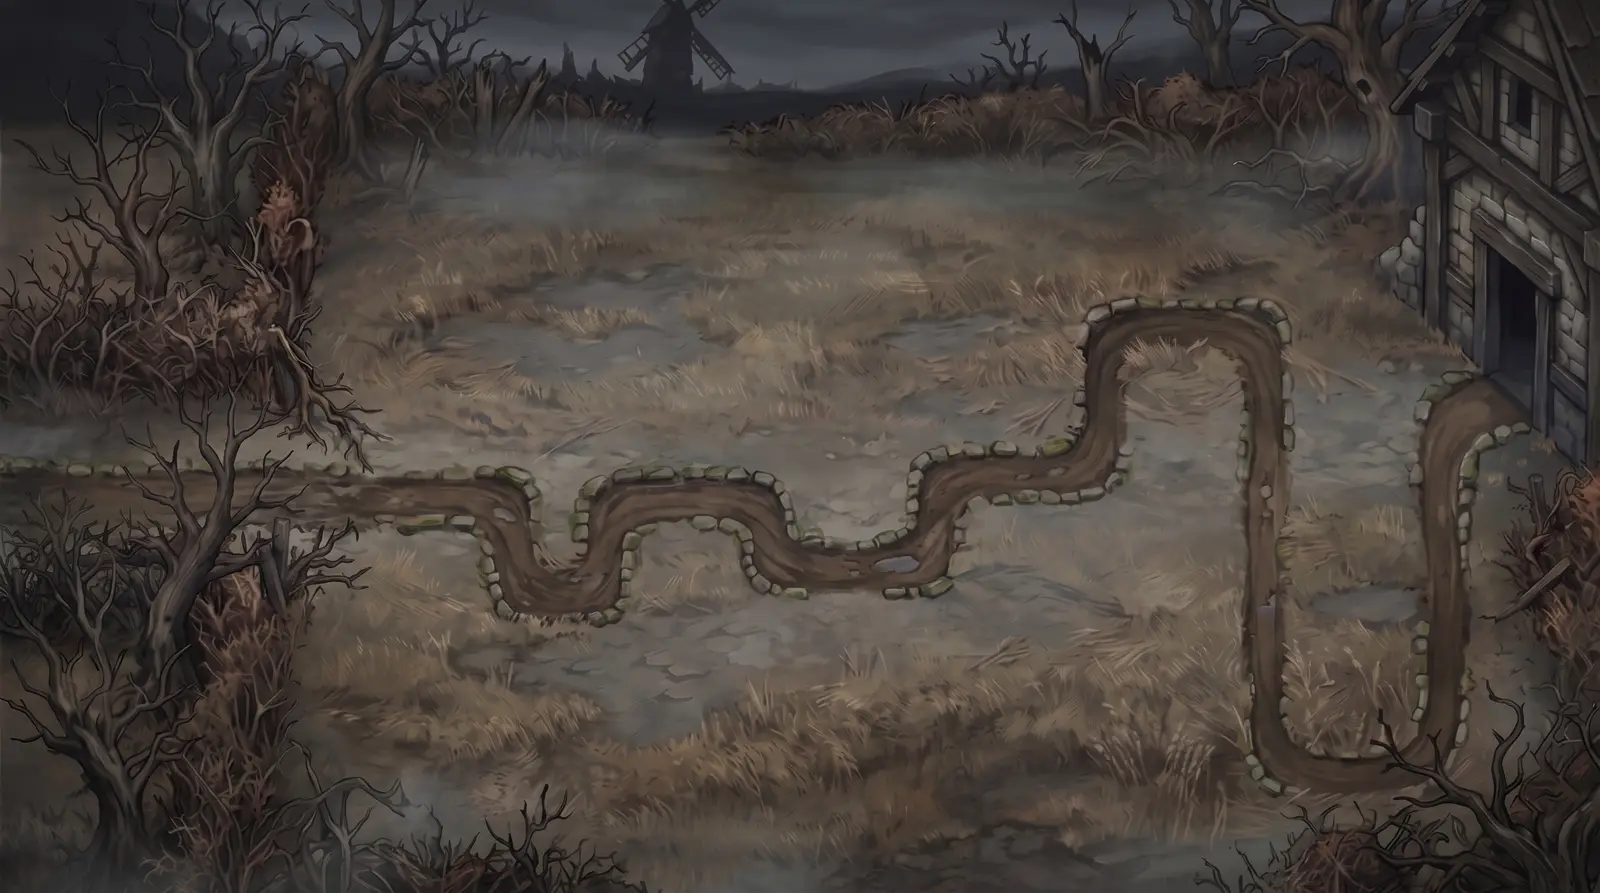
The Withered FieldsStandard
Rotting farmland gone to seed.
Withered farmland rolls out in rows of dead crops and leaning fences, a grassland gone brown and brittle. The path runs the length of the fields, open enough for towers to reach across but long enough to leak stragglers if you slip. The Harvest King rules these fields, flushing his crows out across the rows as he falls.
Tuning: the baseline tuning. Boss: Harvest King
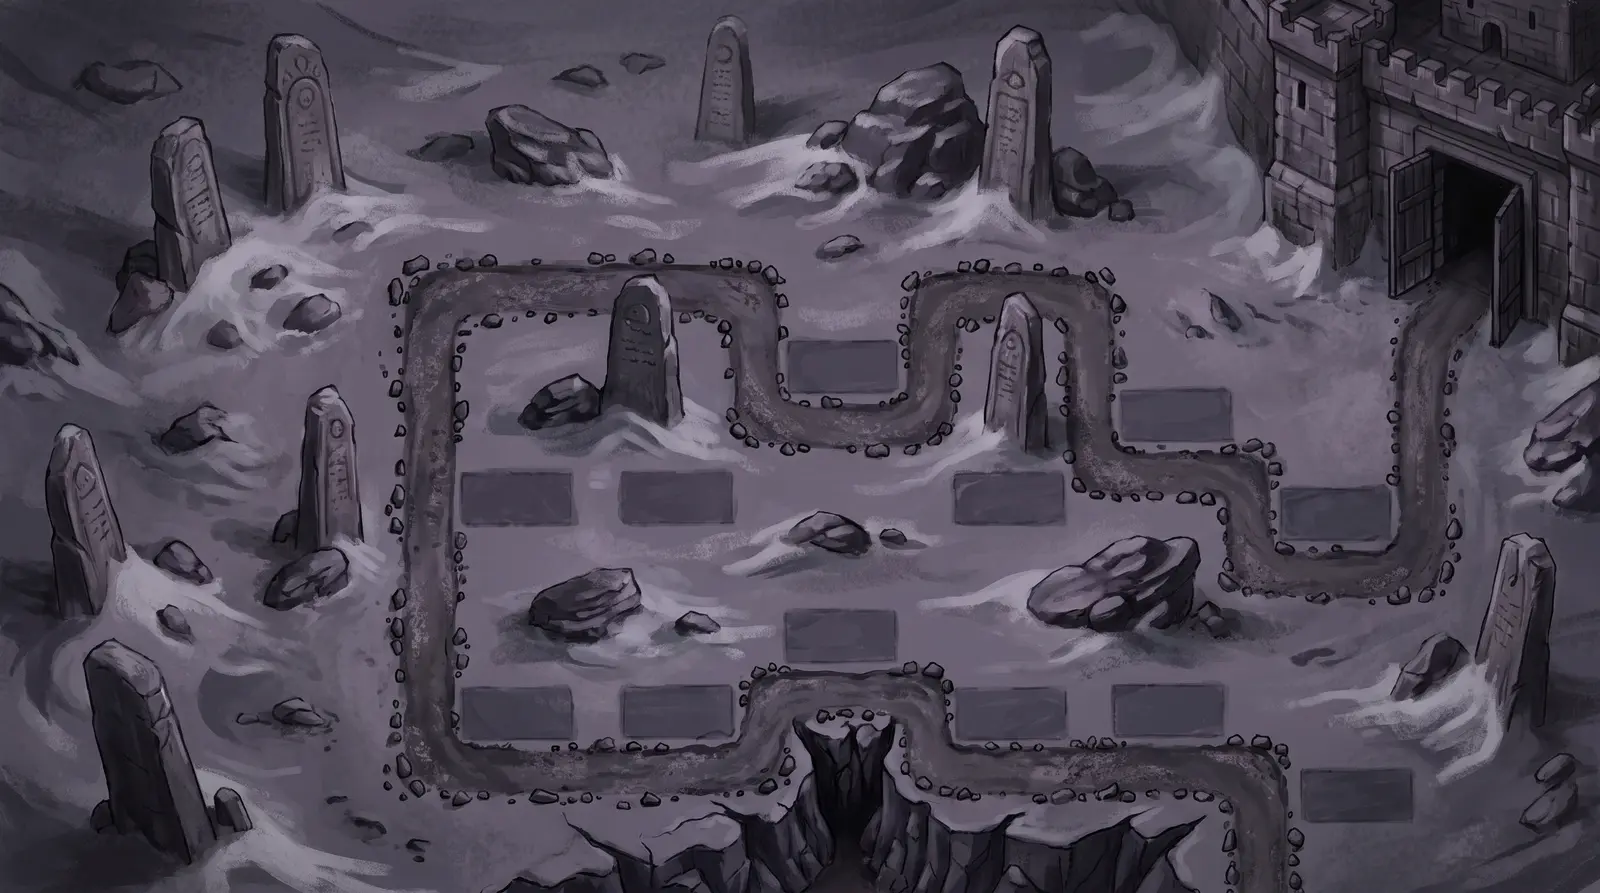
The Storm SummitHarder
A stormbound peak lashed by wind.
A high mountain peak sits wrapped in storm cloud and driving snow, the path winding up exposed rock to the summit. The climbing lane and the wind give the fight a sense of pressure from every side. This is the Thunderhead's summit, and it spawns its fastest sparks behind your lines rather than in front, so watch your rear.
Tuning: waves hit 15% harder here. Boss: Thunderhead
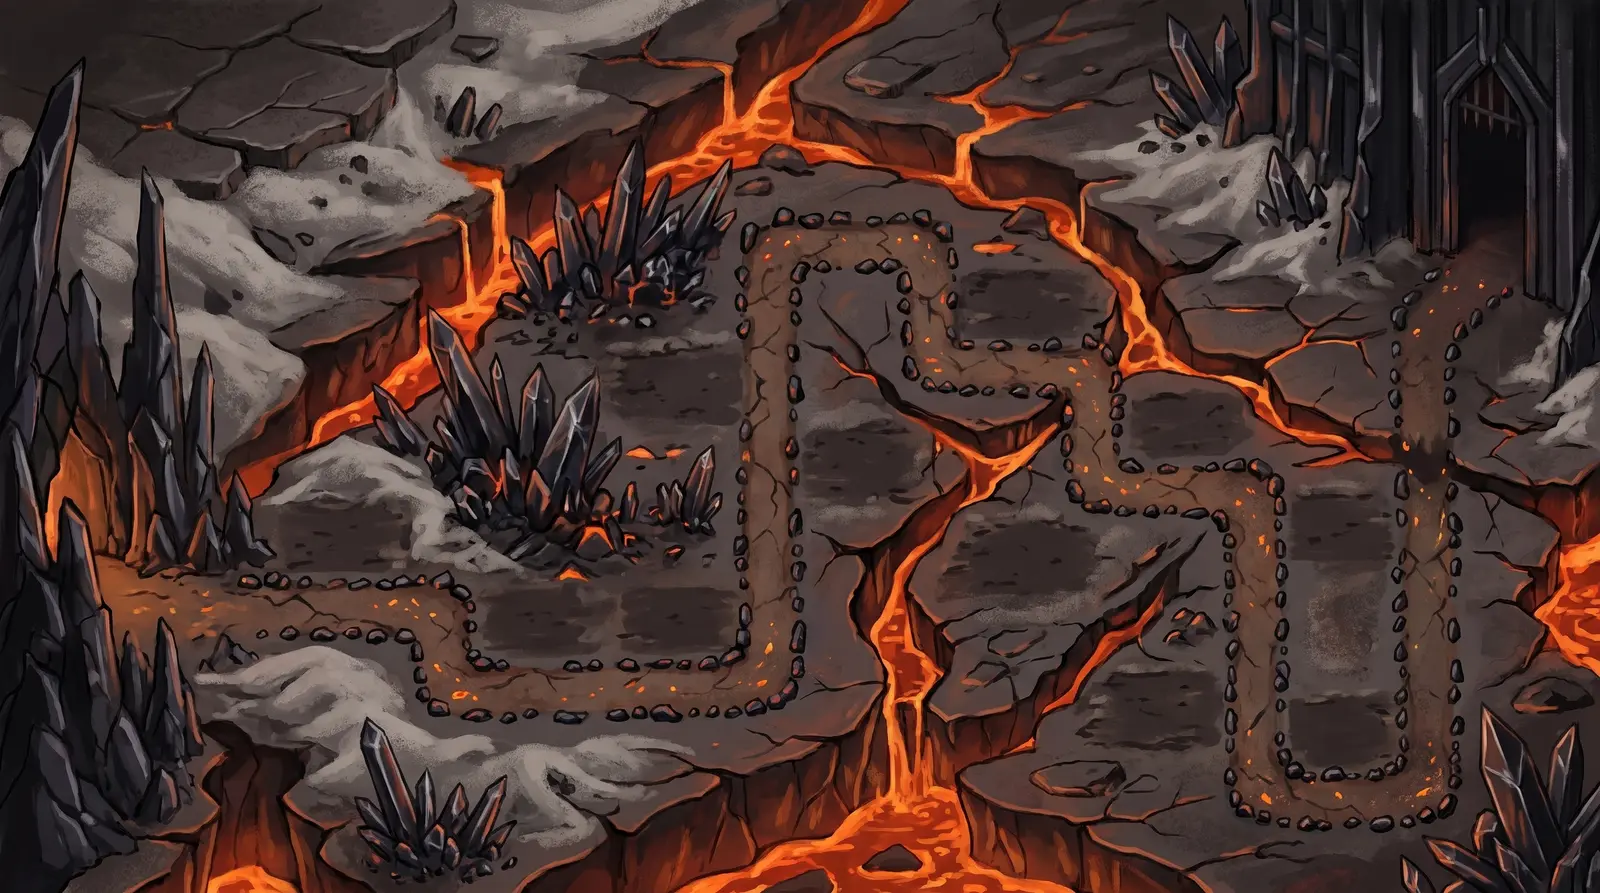
The Obsidian ShelfStandard
A volcanic ledge over molten rock.
A shelf of black obsidian juts over rivers of molten lava, glowing seams lighting the dark stone from below. The path crosses the ledge in clear view of your towers, ideal ground for concentrated fire. It is the seat of the Obsidian Golem, whose splitting cascade of stone bodies floods the shelf when it breaks.
Tuning: the baseline tuning. Boss: Obsidian Golem
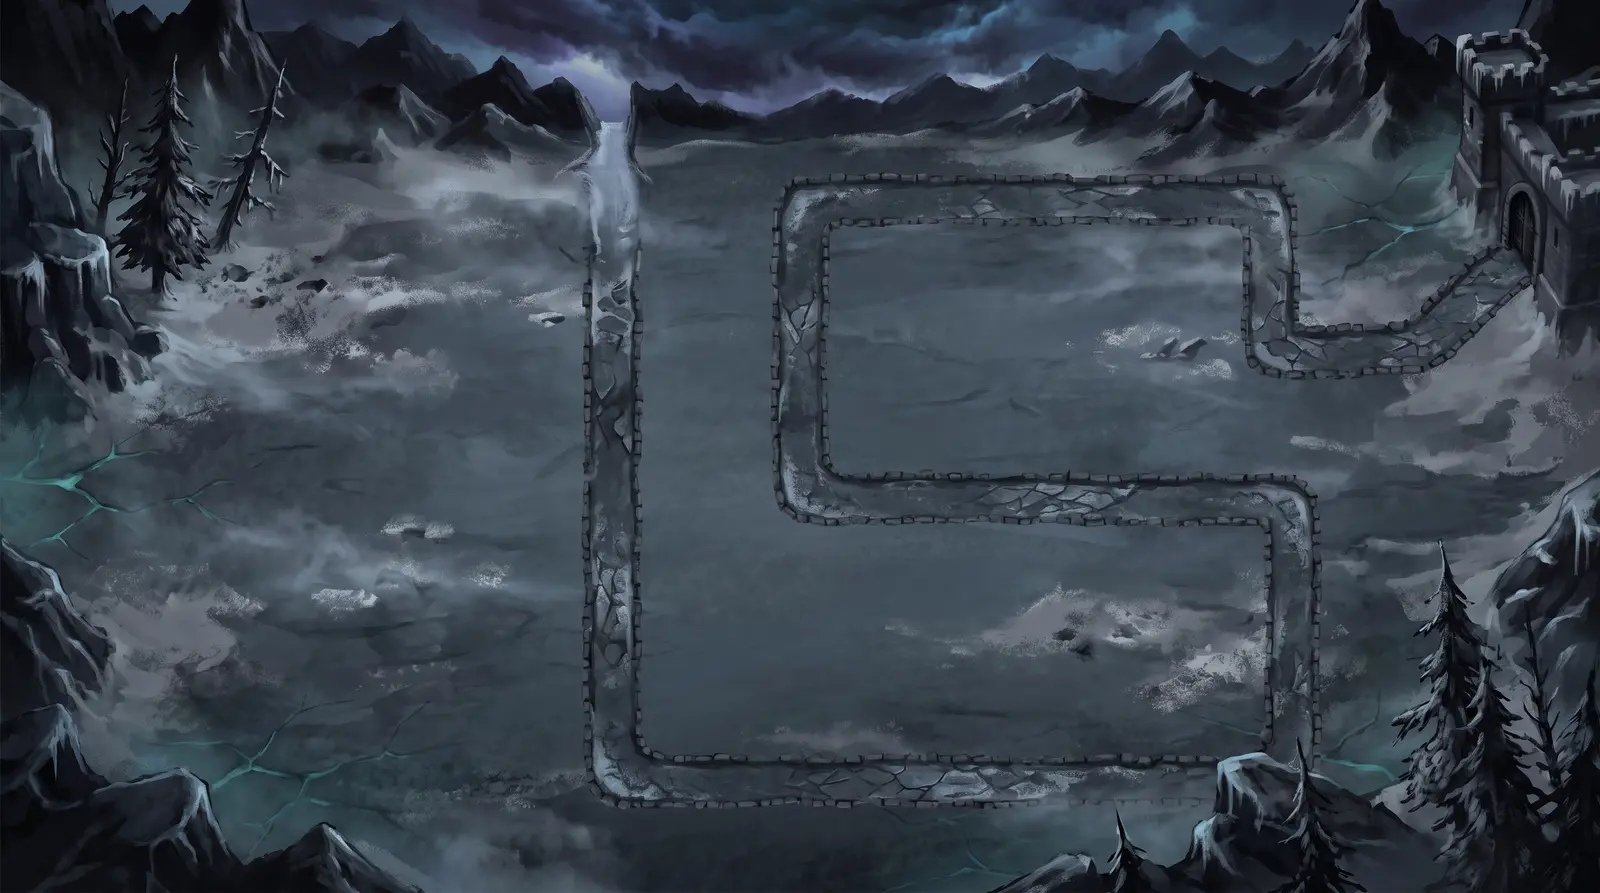
The Frozen War-PlainHarder
A frozen battlefield under open sky.
A snowbound plain scarred by old battle stretches flat to the horizon, wind scouring the ice between broken banners and debris. The open ground gives long clean sightlines, which you will need against a target that barely takes damage at first. The War Mammoth charges this plain, shattering its plates and enraging once its armor is gone.
Tuning: waves hit 20% harder here. Boss: War Mammoth